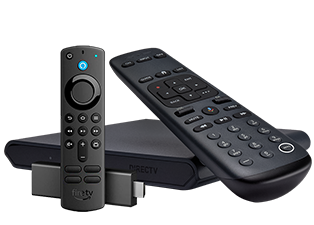
- Place your replacement Wireless Genie Mini next to your old Wireless Genie Mini.
- Move all cables one at a time from the old device to the new one.
- Connect the new power cord and plug into an electrical outlet. Don't reuse the old power cord.
- Power on the Wireless Genie Mini and your TV. The Connecting to Video Bridge screen appears.
- Go to the TV connected to your Genie HD DVR to begin setup. You may need your serial number, MAC address, and model number. You can find this information on the barcode sticker on the outside of the shipping box.
- On your remote, press MENU.
- Select Settings > Whole-Home > Manage Client > Add Clients.
- Write down the PIN that displays on screen.
- Leave the Genie HD DVR on this screen until the setup of the Wireless Genie Mini is complete.
- Return to the location where you set up your Wireless Genie Mini. Wait two minutes or until Connect Now is active.
- The Wireless Signal Strength icon should display three green bars.
- Select Connect Now. The Enter PIN screen displays after the connection countdown.
- Using your remote, enter the PIN from step 8.
- Select Replace a Location and choose the client/receiver you are replacing.
- Select Replace > Yes, Replace to confirm your choice. The Wireless Genie Mini may display a flashing red LED, and the screen may flash gray intermittently during this setup step.
- Return to the Genie HD DVR.
- On the Add a Client screen, select DONE.
Activate your Wireless Genie Mini
Activate online or by calling the automated activation line:
Note: If the Enter PIN screen appears after the two-minute countdown, please call 800.288.2020 to complete your activation.
Heads up: Get replacement instructions for a Genie 2 HD DVR (HS17)