Set up and activate your DIRECTV equipment
Learn how to set up equipment with a TV, pair remote control, and activate service. Information on how to order new receiver equipment is also included.
Choose the service you have at your home:
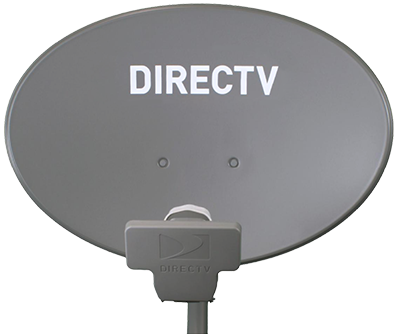
Satellite Dish
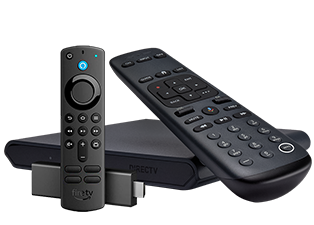
Internet connection (No satellite)

Was this information helpful?